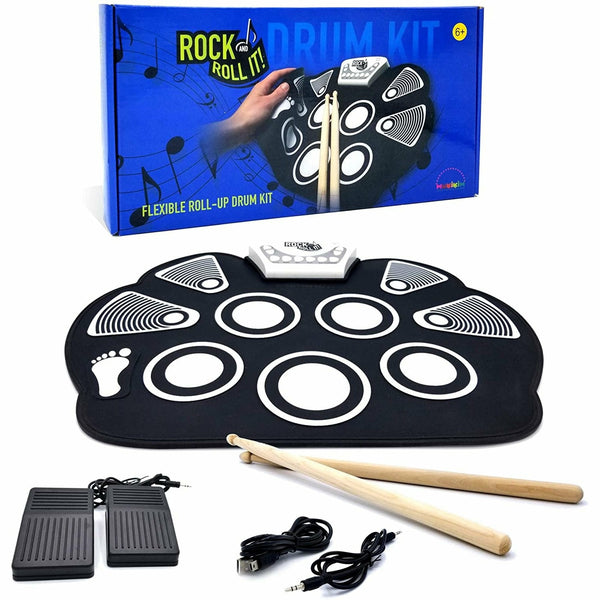
Drumming is one of the most enjoyable and thrilling experiences in the realm of music. Whether you are a beginner or a seasoned player, nothing beats the feeling of pounding beats and creating music with your hands. If you have recently acquired a new drum kit controller, you might be wondering how to assemble it correctly. Fret not as assembling your controller is easy and can be done in just a few steps. In this article, we will provide you with a step-by-step guide on how to assemble your drum kit controller.
Step 1: Unbox Your Drum Kit Controller
The first step to assembling your drum kit controller is to take it out of its packaging. Make sure to remove all the protective plastic covers and carefully place the drums, cymbals, and pedal on a flat surface. Ensure that you have all the parts and components before proceeding to the assembly process.
Step 2: Attach the Pedal to the Bass Drum
The next step in assembling your drum kit controller is to attach the pedal to the bass drum. Place the bass drum on the floor and align the pedal's base to the bass drum's head. Tighten the wing nut to secure the base in place. Ensure that the pedal is at a comfortable distance from the bass drum for optimal playing experience.
Step 3: Attach the Hi-Hat Cymbal
The third step is to attach the hi-hat cymbal to its stand. Locate the hi-hat stand, and place the cymbal on top of the stand. Secure it by tightening the wing nut to ensure that it does not move around.
Step 4: Attach the Other Cymbals
Next, it's time to attach the other cymbals. Locate the designated slots for each cymbal on the drum kit controller and secure them in place. Tighten the wing nuts to ensure that the cymbals are secure and don't move while playing.
Step 5: Connect the Drums
The fifth and final step in assembling your drum kit controller is to connect the drums to the module. Connect the audio cables to the designated slots on the back of the drum kit controller. Ensure that the cables are properly connected before turning on the device.
Conclusion
Assembling a drum kit controller is an easy task that should not take more than 15-20 minutes. By following these steps, you can quickly assemble your drum kit controller and get started with your drumming journey. Remember to always follow the manufacturer's instructions for optimal performance and longevity of your drum kit. We hope that this guide has been helpful to you and that you enjoy playing your new drum kit controller.
Keywords: drum kit controller, assembling, bass drum, hi-hat cymbal, cymbals, module, audio cables, manufacturer's instructions, optimal performance, longevity.